
This post may contain affiliate links. If you make a purchase through a link, I may receive a small commission, at no cost to you. These commissions help keep this website up and running, and I thank you for your support. Read my full disclosure here.
Disclaimers: I have in no way been influenced or paid to endorse these products. All recommendations and opinions are my own.
I’ve been working hard to eliminate as much plastic in my home as possible. It’s been difficult, and one of the items that has bothered me the most is plastic food wrap. I use a lot of it and I cringe every time. Where I can, I use alternatives. For example, if it’s just going to sit in the fridge, then I place the food on a plate or in a bowl and just place another plate or bowl on top of it upside down. I have also started replacing my plastic containers with glass ones. But there are times when plastic cling wrap is the best option.
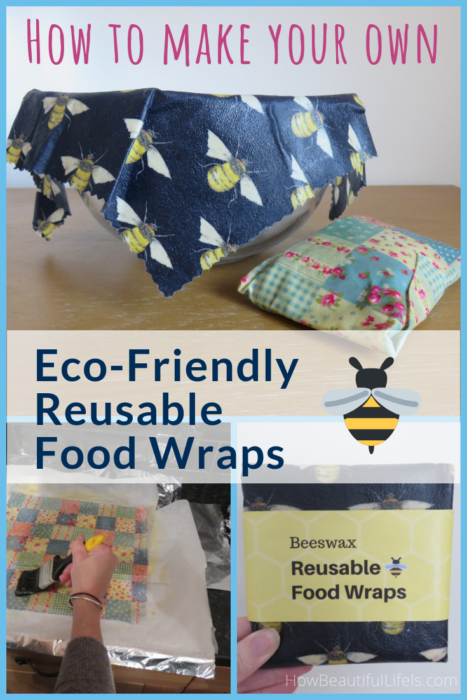
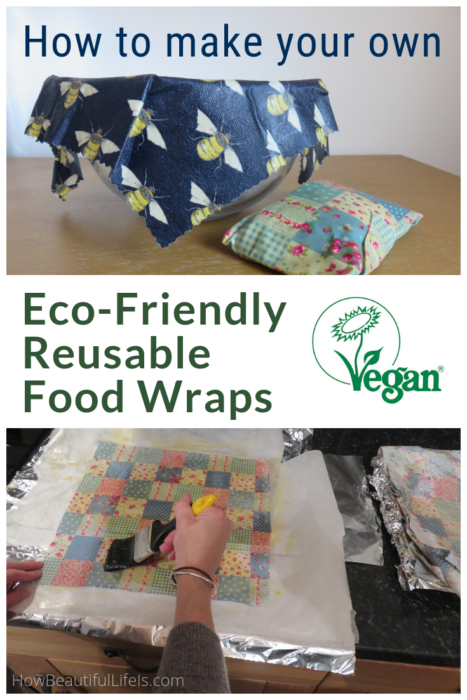
So I started looking for eco-friendly alternatives and came across these waxed, reusable food wraps cloths that are on the market. But when I saw how expensive they are, I felt positive that I could make them myself for a fraction of the price… and I was right. With a little bit of effort, you can make lots of reusable food wraps in a variety of sizes for yourself, your family, and friends. This year I made it my goal to hand make all of my Christmas gifts, and these wraps were perfect. I’ve also included a vegan version to ensure that I cater to everyone’s preferences.
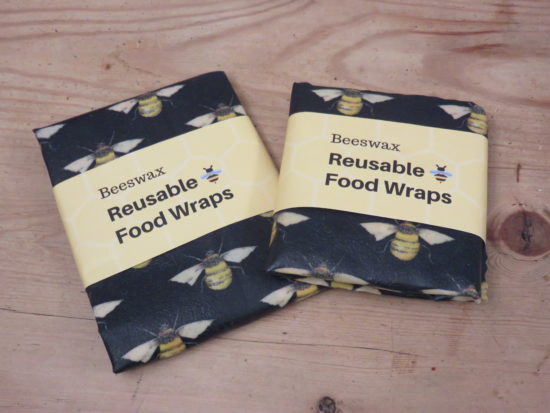
Use these FREE printable food wrap labels for packaging your reusable food wraps for gifting! There are three labels per sheet to wrap around your wraps.
Ingredients to Make Reusable Food Wraps
You will see lots of recipes online, and many of them use either just beeswax or a beeswax and jojoba oil mix. However, to get the best results, you need to use these three natural key ingredients:
- Beeswax (or Candelilla wax for a vegan recipe)
- Jojoba oil
- Pine resin
If you use beeswax on its own, you will end up with cloth that is not very pliable and will crack. Adding jojoba oil will soften it and make it more pliable. But you also need to add pine resin to give it some stickiness so that it ‘clings’ just like plastic cling wrap.
Beeswax (or Candelilla Wax for Vegans)
Both beeswax and candelilla wax are great natural waxes that create a long lasting, waterproof waxed cloth. To keep costs down, buy a block of beeswax and cut it up to help it melt faster. If you don’t want the hassle of cutting it up, you can buy the beeswax pellets instead, but these are more expensive.
For a vegan recipe, use candelilla wax, which is a natural wax derived from the leaves of the small candelilla shrub which is native to northern Mexico and the southwestern United States. Candelilla wax will dry harder than beeswax, so will need to use less and increase the pine resin and jojoba oil.
Jojoba Oil
The use of the word ‘oil’ is very misleading because actually jojoba oil is a wax. It is naturally anti-microbial and adding it to this reusable wax cloth recipe will create a much more flexible wrap that won’t crack.
Pine Resin
Most recipes you see for reusable cloth wraps don’t include pine resin, but this is a key ingredient. It creates a natural stickiness that helps the cloths to stick to bowls and to itself. Pine resin is 100% natural and is secreted by pine trees. When making the mixture, you need to be patient as the pine resin takes a while to melt and mix with the other ingredients. That is why it is much faster and easier to use powdered pine resin.
Which Material to Use and How to Prepare It
Light, thin, cotton works best because as soon as the wax is applied to the cloth it coats it, making it thicker. If the material is too thick to begin with, it isn’t pliable enough and isn’t very easy to use as a wrap. Go for a thin cotton, like that of a light summer bed sheet. If you are trying to keep costs down, then you can use old (clean) cotton sheets. I also suggest not using white fabric as the beeswax gives it a bit of a yellow tinge which can make the material look a bit dingy. Instead, go for some fun, bright patterns.
Before you apply the wax mix, clean and thoroughly dry the cloth. To prevent the material from fraying and to make it look tidier, use pinking shears to cut your edges.
If you have a sewing machine, then you can also sew sandwich and snack bags. If you are doing this, it’s easier to sew them first before treating them, as the wax treatment makes it difficult to sew.

What Size Wraps Should I Make?
I’ve listed some suggested sizes below, but if you want to work out what size you need for a particular bowl or plate, then map out a template size using newspaper first. Once you’ve worked out what size you want, use the newspaper as your pattern.
(The conversions are just rounded up.)
- Small 18 x 20 cm/7 x 8 inch
- Medium 25 x 28 cm/10 x 11 inch
- Large 33 x 35 cm/13 x 14 inch
- Extra large for bread loaves 35 x 40 cm/14 x 16 inch
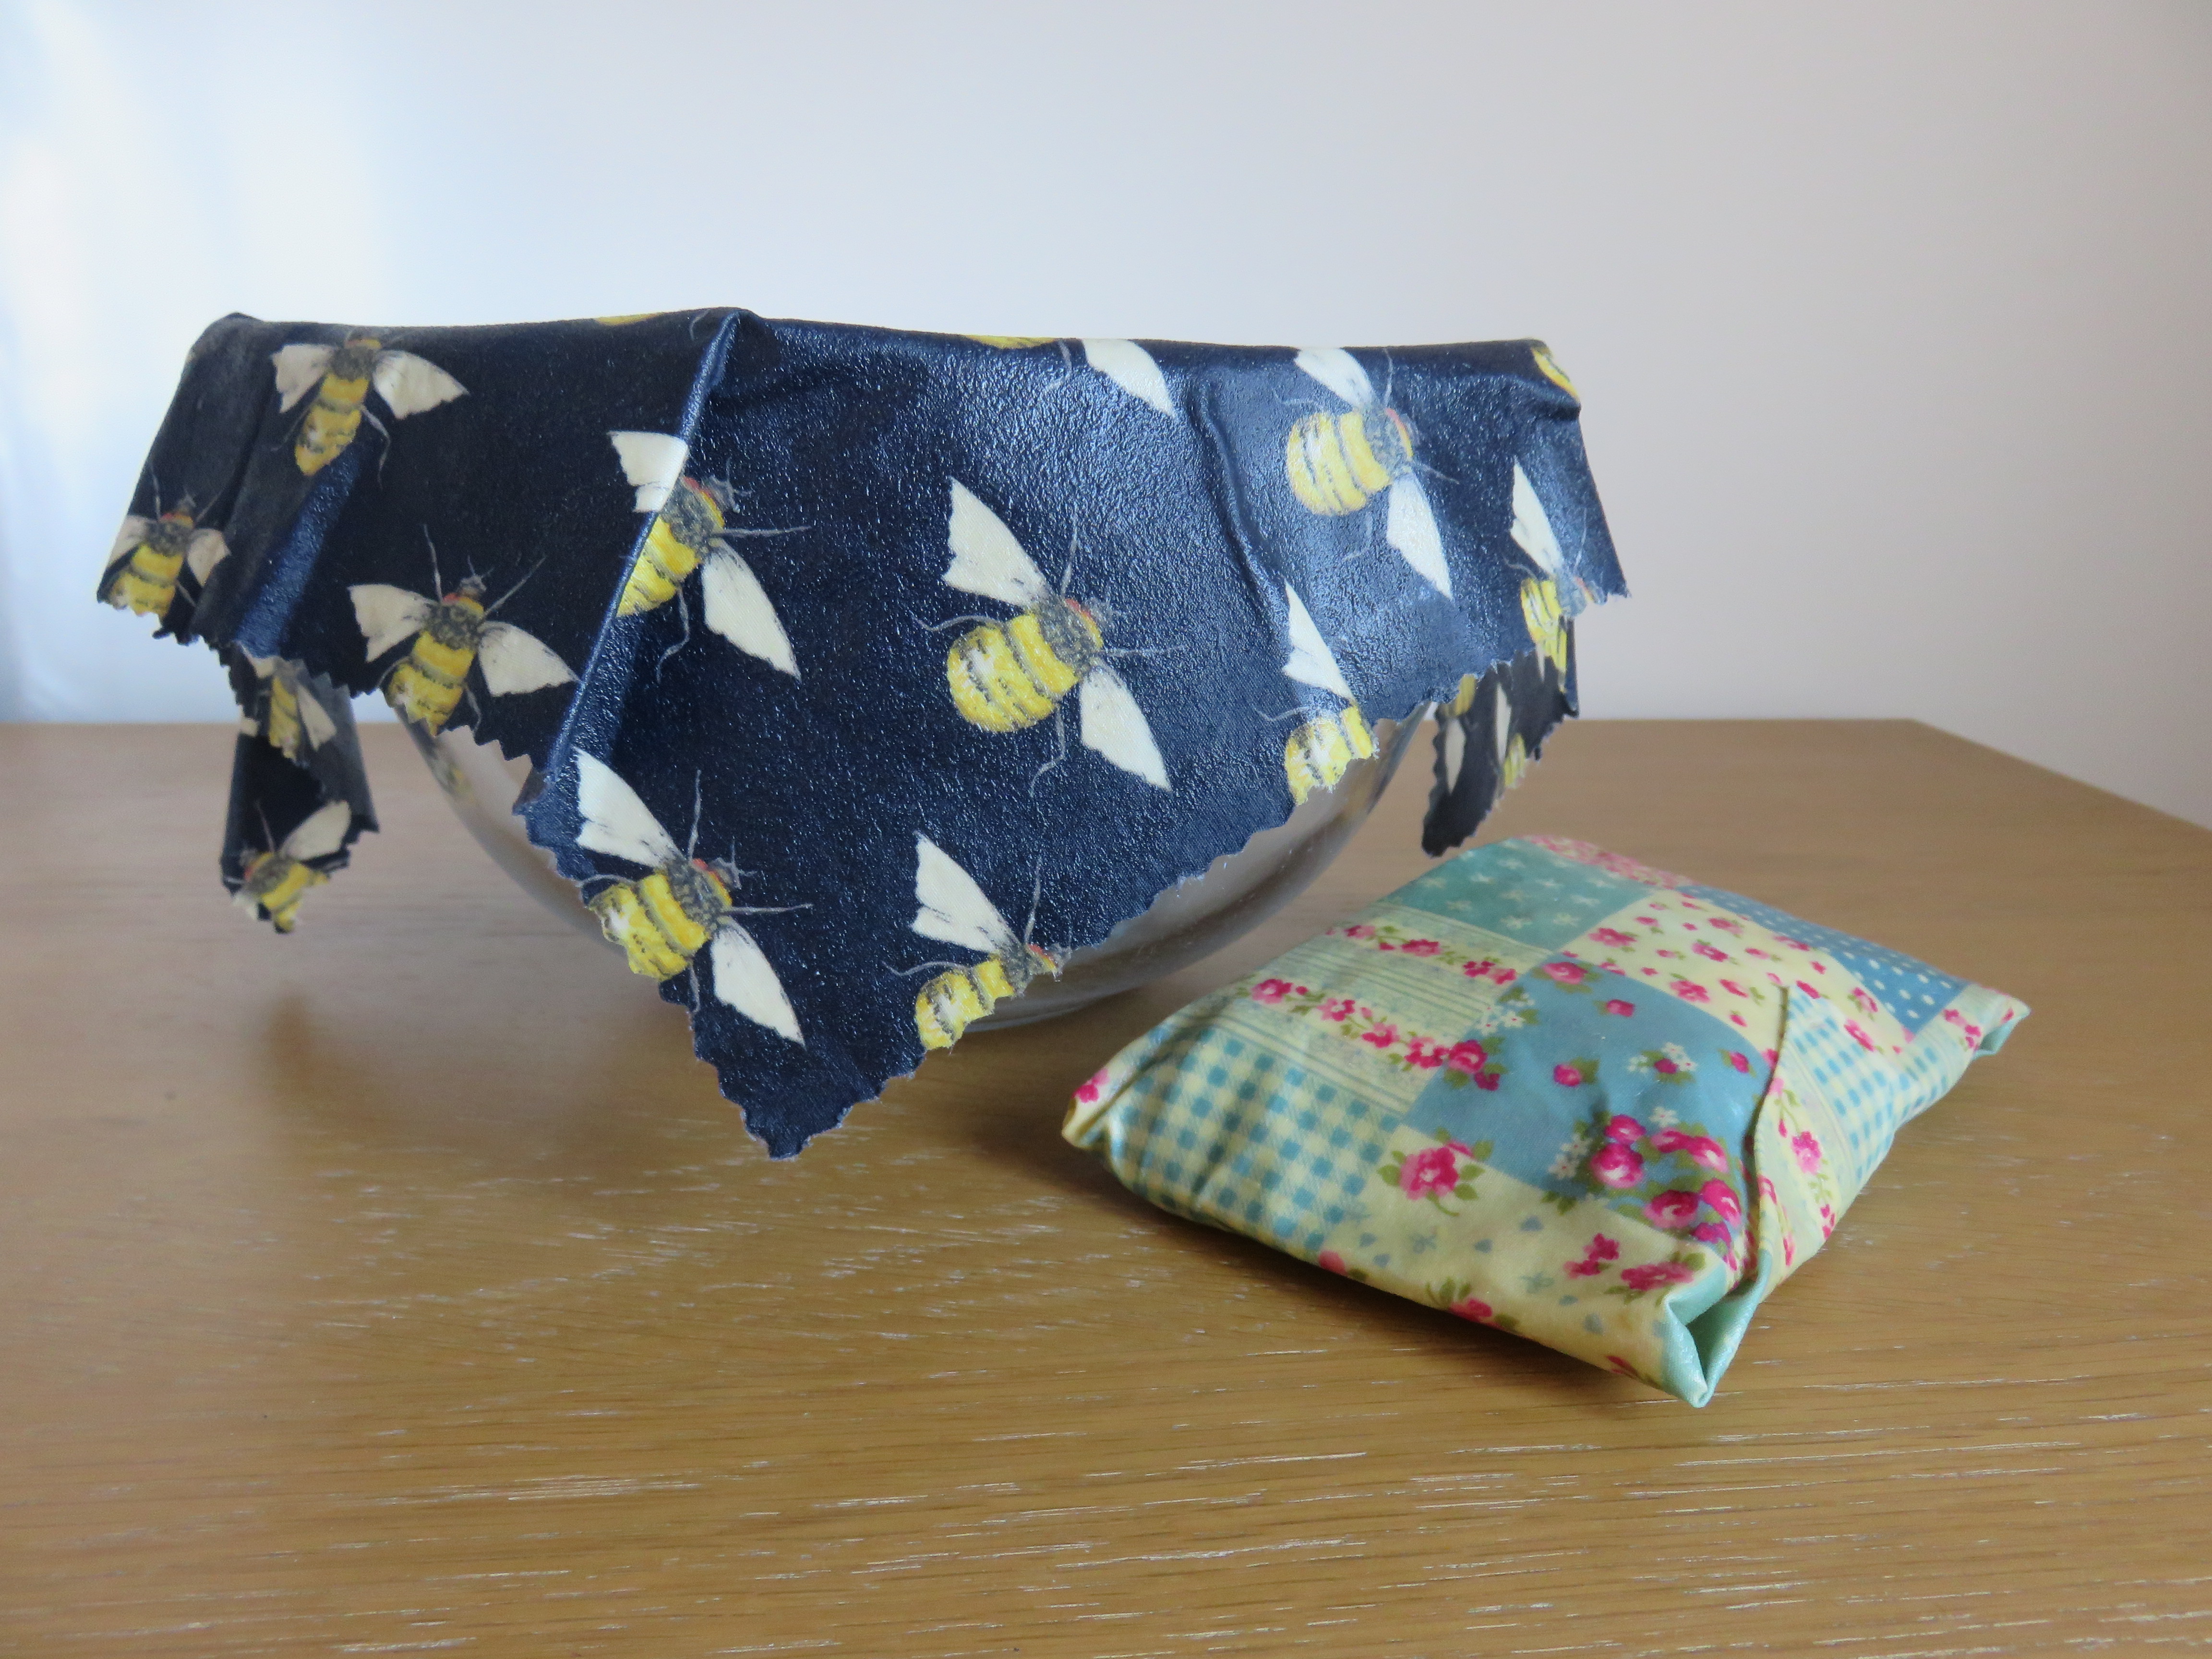
How to Use Your Reusable Food Wraps
To use your reusable food wrap, simply place it over your bowl or plate and press the material around the container, gathering the edges. You can also use it to wrap sandwiches and snacks as the material sticks to itself as you fold it upon itself. These wraps are not suitable for covering raw meat.
How to Take Care of Your Reusable Food Wraps
Wash in cold or lukewarm water using a mild, gentle soap. Do NOT place in the washing machine. I tend to wash off crumbs by running it under the tap, then use a kitchen cloth to gently wipe them clean and hang them to dry. You can revive them by placing them onto a foil lined tray and place in the oven at 110ºC fan (230ºF) for about 10 min. Depending on how frequently you use them, they can last for up to a year before you need to re-wax them.
All seems a bit too hard?
Don’t feel guilty, just purchase yourself these pre-made waxed, reusable food wraps cloths.
Ingredients
Method
- Clean and dry your cotton cloths. Measure out your cloths and cut them to size using pinking shears around the edges to help reduce the frayed edges. If you are sewing sandwich or snack bags, then it is easier to sew them prior to waxing.
- Pre-warm your oven to 110ºC fan (230ºF).
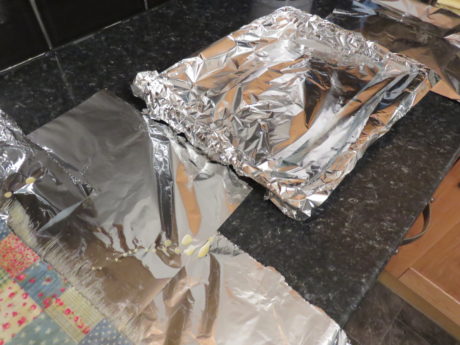
- Prepare your working space by covering your bench top in kitchen foil and then a layer of baking paper, wax side up.
- Cover a large baking tray in 2 layers of kitchen foil.

- Prepare a drying line to hang your cloths on as they come out of the oven. I recommend setting up a temporary line using twine, otherwise the cloths will leave a waxy residue all over your washing line.
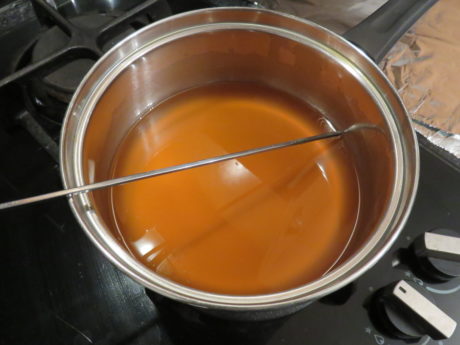
- Place your beeswax and crushed resin into the saucepan over a medium heat. Stir occasionally until the wax and resin has melted together into a liquid. Warning: If it starts to smoke, it is too hot! Immediately remove it from the heat and allow it to cool down until it stops smoking.
- Stir in jojoba oil to your wax mix.
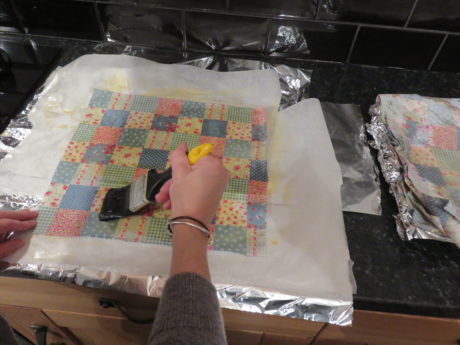
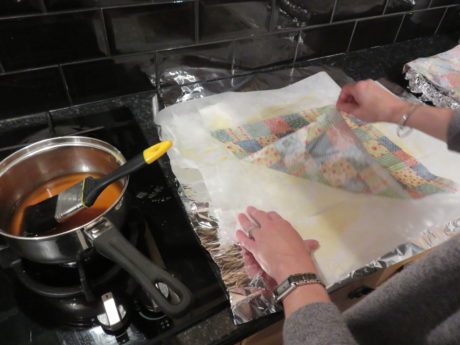
- Place a piece of cloth onto your foil and waxed paper lined worktop. Dip your brush into the oil and liberally brush it onto the cloth. It dries quickly, so you need to work fast. Once it is covered in oil, place it onto your prepared foil lined baking tray. The cloth will stick to your waxed paper, but you should be able to peel it off.
- Continue to brush each piece of cloth. If the wax mixture begins to cool down (you will notice it begins turning cloudy), turn your element back on to warm it back up.
- After you've oiled 6 cloths, cover your baking tray with a piece of foil and put the cloths into your oven for about 10 mins. This will melt the wax again to ensure an even coverage.
- Take the cloths out of the oven and check to see if all of them have been covered in the wax. The wax should have melted into a liquid again so it soaks through to both sides of the cloths and onto any patches you may have missed with the paint brush. You may need to place them back in the oven for a further 5 minutes.
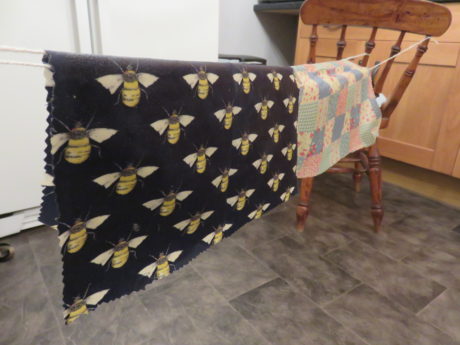
- When they are evenly covered with the wax mixture, remove them from the oven and carefully lift them out using the tongs (be careful, they will be very hot). Hang them to try over your twine lines. Ensure that the cloths don't stick to themselves.
- The cloths take about 5-10 minutes to dry.
- If you have more cloths to wax, then repeat this process. If you have a lot of cloths to cover, you will need to re-heat the wax to keep it in a liquid state.
- Once you are finished, wipe the excess oil mix off your equipment using paper towels, then soak and rinse them in boiling water, before giving them a final clean with hot soapy water. To remove any remaining residue, wipe down your pot and any splattered surfaces using some tea tree oil.

Notes
- Use [amazon_textlink asin='B00QJCFWSI' text='tea tree oil' template='ProductLink' store='howbeautifullifeis-20' marketplace='US' link_id='1114567b-db8c-11e8-8588-a15df938aec7'] for easy cleaning up, as the pine resin and wax can leave a residue.
Kimberly
Wondering if you can melt the supplies in a crockpot?
Colleen
To be honest, I don’t own a crockpot, but the key would be to keep the material flat so that the wax mix can properly melt and cover the material. Even warming it folded would be ok as long as you laid it out flat/unfolded whilst it is still warm so it dries completely flat.
shanty
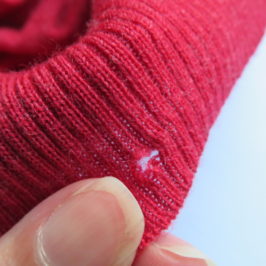
Hi, I tried the vegan recipe, but there are white lines after usage.
Can you please let me know why?
Thank you.
Colleen
Is the lines the wax drying out and cracking? Over time the wrap does dry out a bit and you need to ‘revive’ by placing them onto a foil lined tray and place in the oven at 110ºC fan (230ºF) for about 10 min. However, if this is happening after only a few uses, maybe you needed a bit less wax and a bit more oil? If you think it is the wax, then you could pop it back in the oven and add a few more drops of jojoba over it and see if it fixes it.
maria
mine came out really really sticky, (i used the vegan recipe). whats gone wrong??:(
Colleen
The stickiness will help it to stick together when you use it as a wrap (think cling wrap). It will lose its stickiness over time.
maria
Thanks- but i meant oily- like really oily! 🙁 x
Colleen
Then you might want to reduce the Jojoba oil. However, they should be oily to repel moisture. You could try blotting the excess oil with a paper towel. After using them a few times they will likely lose their oiliness.
Evon
Hi there,
I can’t wait to try this! 😊Did you layer the oiled cloths directly on top of each other when you placed them in the oven? Or did you place baking paper between the cloths?
Colleen
I placed them on top of each other so the oil mixture could completely soak through all of them and also cover any bits I might have missed. I don’t think there is any need to place baking paper between each of them as they separate very easily when you take them out of the oven as the oil is warm and in a liquid state. Just make sure to separate and hang them out straight after getting them out of the oven.