This post may contain affiliate links. If you make a purchase through a link, I may receive a small commission, at no cost to you. These commissions help keep this website up and running, and I thank you for your support. Read my full disclosure here.
On a whim, I purchased a simple little insect hotel from Aldi supermarket for a few pounds (isn’t everything purchased on a whim from that middle aisle?!) After hanging it outside, nothing much happened for some months, but then eventually we noticed the bees visiting it and loving it, literally fighting over it and wiggling into the bamboo tubes.
There are over 240 species of wild bees in the UK that are called ‘solitary bees’. Unlike your traditional honey bee that live in hives, they make individual nest cells for their larvae and food. My husband and I have loved watching the huge variety of bees come and go, so were keen to create another larger one for the garden. Making an insect hotel is a fun activity for both adults and kids. The benefit of making your own is that it’s cheap and you can be assured that they are insect safe, as some commercially purchased insect hotels contain chemically treated materials. They also design them in a way that is not attractive to insects.
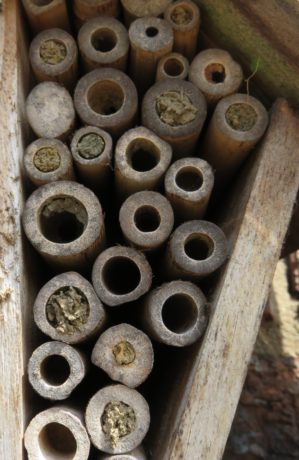
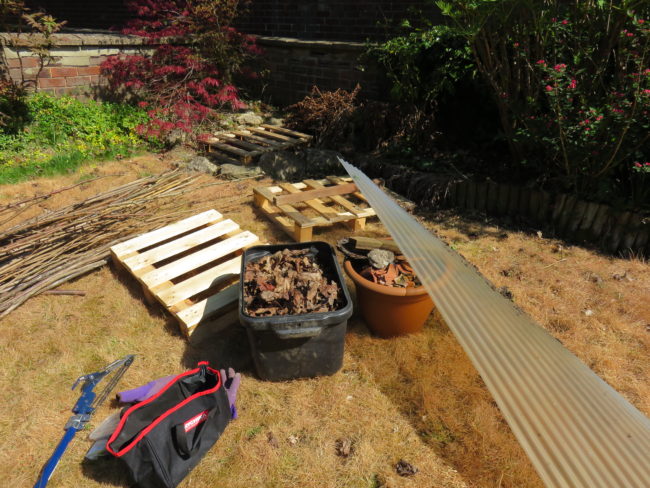
In this post I’ve set out how I made my insect hotel, but feel free to adapt this based on your own space and the materials you have to hand/can source. In our insect hotel we used some pellets we had gotten free from our local Freecycle network, and the rest of the materials we were lucky enough to find in our own garden. If you can’t find what you need, then ask neighbours and friends for any items that they may find in their own gardens or post a request on your local Freecycle website.
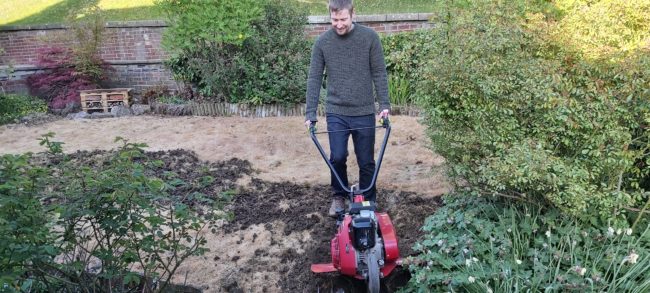
FYI in the photos our lawn is dead because we had killed the grass to turn it into a wildflower meadow which has been a great success – see photos of it in its first year of seeding it at the bottom of this post.
Simple Guide to Building Your Own Insect Hotel
Materials needed
You don’t need to use all of these items, but here’s some ideas for materials to use for your insect hotel:
- Heat treated wood pellets*
- Bricks
- Terracotta pieces from broken pots
- Wood
- Bamboo cane garden stakes
- Pine cones
- Dried leaves
- Dry plant stems and sticks
- Carboard tubes e.g. toilet paper or paper towels tubes
- Roofing material – such as roof tiles, slate, corrugated sheets
Equipment needed
- Drill
- Drill bits for masonry and wood in various sizes 2mm to 10mm
- Hand saw
- Sand paper
- Something suitable to attach your roofing material
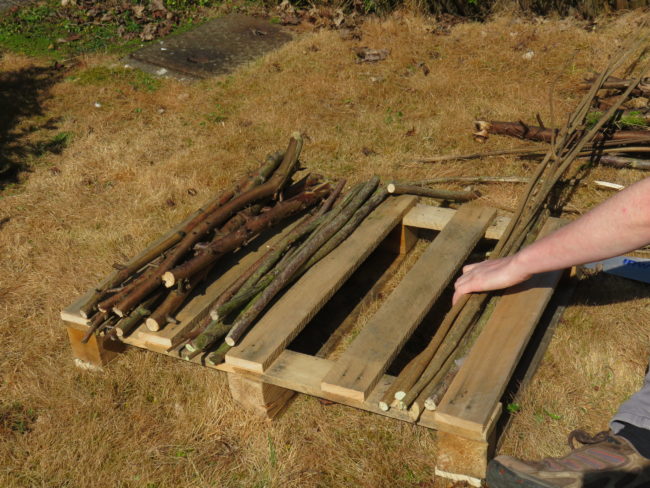
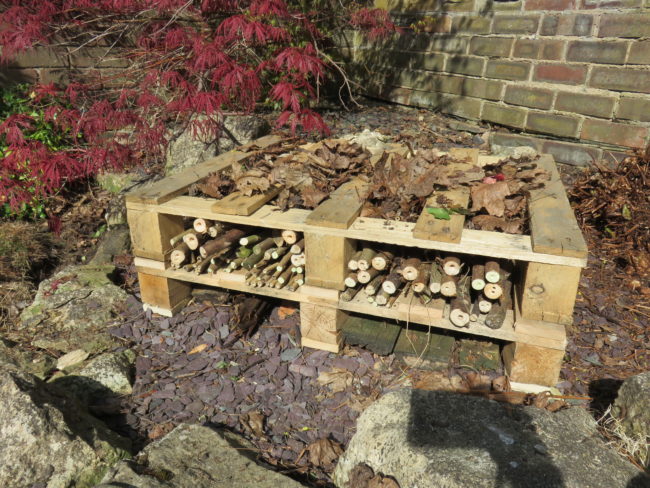
Step 1: We stacked two pellets on top of each other. We only had large pellets, so first we cut ours down to size to fit the location we had chosen for our insect hotel.
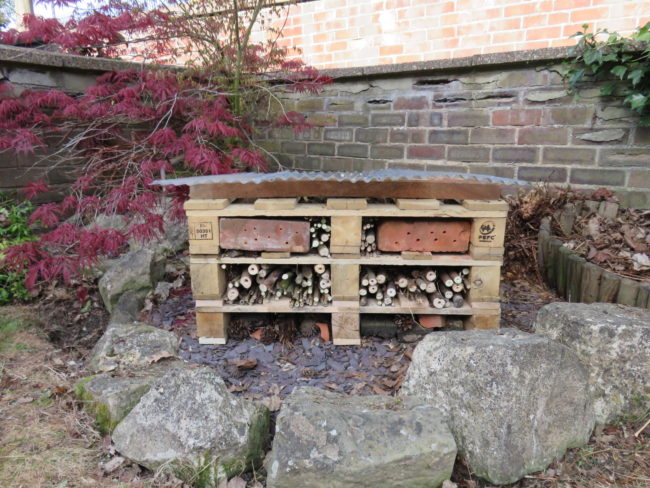
Step 2: We started by placing the first pellet down and filling it with dried leaves, pine cones, bits of old wood and broken terracotta pots. There’s no special way for doing this, we just placed it all in together. This bottom layer is for bugs and critters.
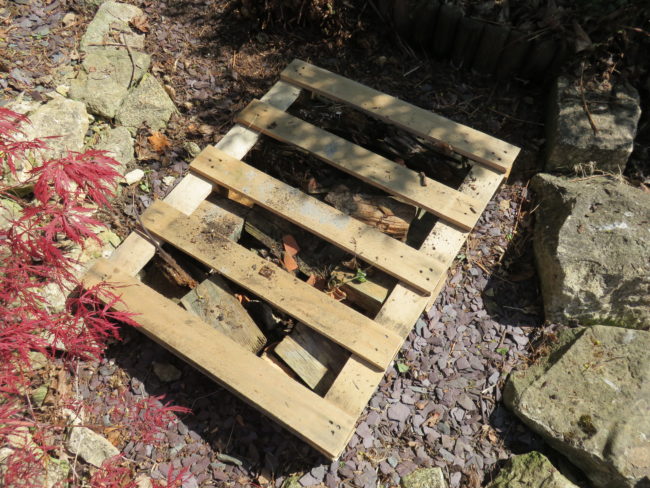
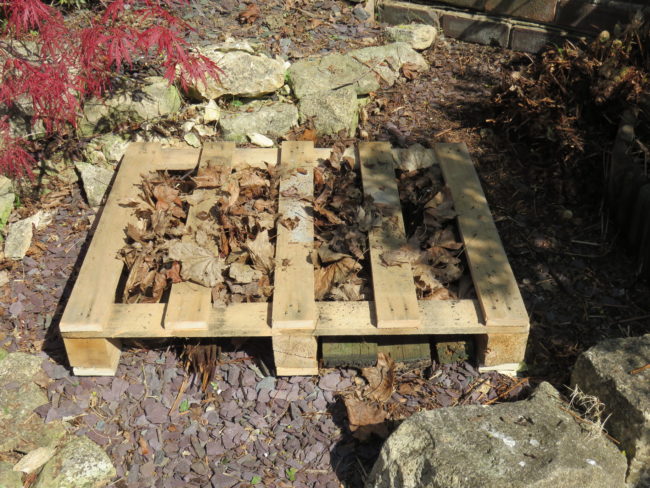
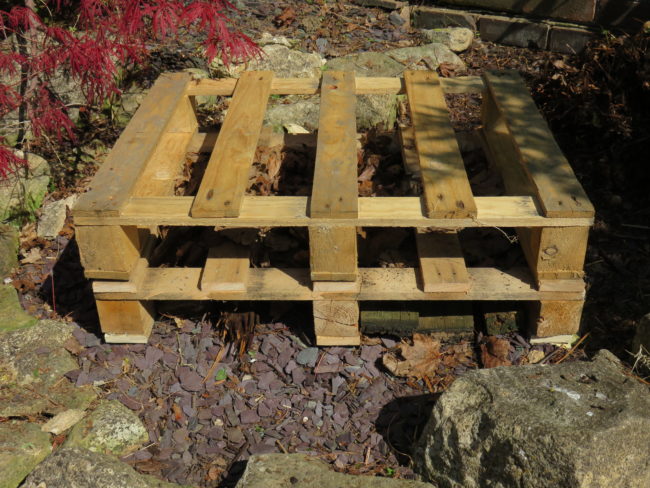
Step 3: We then stacked the second pellet on top of the bottom one. This layer was for the bees and so we gathered lots of sticks and cut them down to the depth of the pellet using our hand saw. Then we used our drill to create holes into the end of the sticks of varying diameters between 2mm and 10mm but no bigger (otherwise the bees won’t like them). Then we carefully sanded the hole openings because it’s important that the entrance to each hole is clean and smooth so that the bees can safely enter without damaging their wings. Brush off the sawdust as the bees won’t like this either. We also cut lengths of bamboo canes which are naturally in tubes.
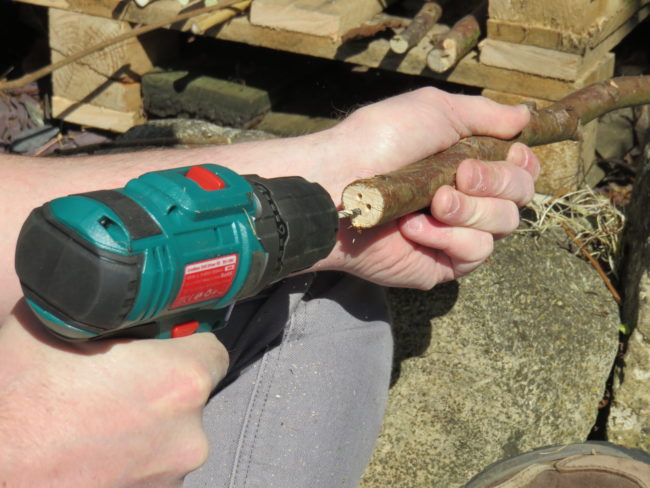
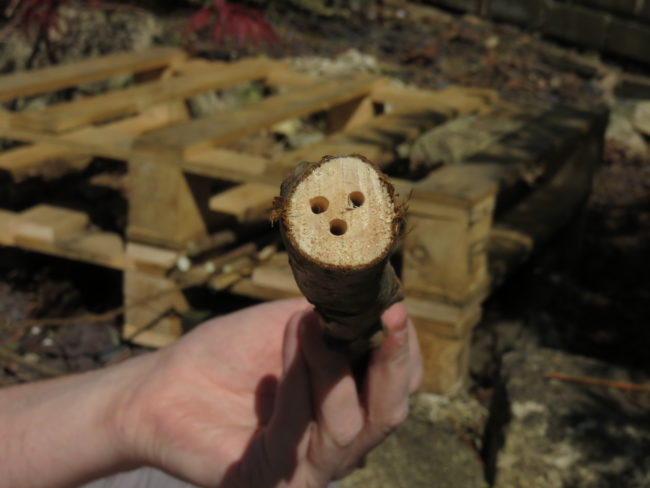
Alongside the sticks and bamboo we also placed bricks. We had carried out renovations in our house so had lots of bricks that came out of the house (we even made a lovely garden path with them). Similar to the wood sticks, but this time using masonry drill bits, we drilled holes into the bricks of varying diameters between 2mm and 10mm, but no bigger. Do not make a hole all the way through to the opposite side as bees prefer a closed end tunnel. We placed the open ends of these holes to face outwards.
Step 4: The insect hotel needs to be kept dry, so will need a waterproof roof. We found some corrugated roofing panels and cut them down to size and screwed them into the pellets. Later we cut some earth to place on top to make a green roof which also helps it from getting too hot.
Top Tips for Building a Successful Insect Hotel
Position
The bees like their hotel to be positioned in full sun, facing south east or south for those living in the northern hemisphere, and north east or north for the southern hemisphere. Ensure that there is no vegetation in front of it that obscures the entrances to the tunnels and holes.
Give it time to ‘weather in’
If the bugs don’t show any interest in your insect hotel, don’t worry. It seems that they need to be weathered for about 6 to 12 months before the bugs finally accept it as a suitable place to make their home, store their food, and lay their babies.
Use the right materials
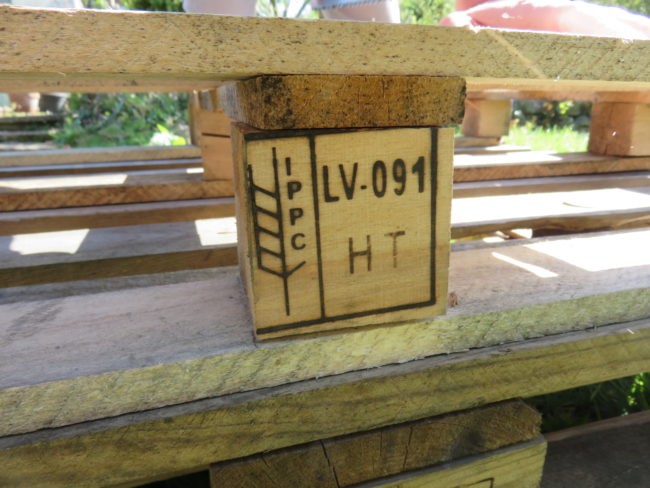
Make sure that the materials you use for your insect hotel have not been chemically treated, painted, varnished or treated with wood protectant. Everything must be natural. *Heat treated wood is safe to use, so look for the heat treated label and avoid those that have been stamped with MB as they indicate that the wood has been fumigated with Methyl Bromide – here is a helpful guide on understanding the labelling.
It’s also important that the insect hotel is kept dry, so make sure you choose roofing material that will keep the rain out.
Create a wildlife friendly garden
Create a bug friendly garden to attract the insects by carefully selecting native plants and flowers. Consult your local garden nursery as these days plants are often labelled with bee and butterfly friendly labels to help you identify them. Avoid using pesticides and herbicides in your garden (or at least DON’T spray plants in flower) and consider creating a wildflower garden and not mowing your lawn – join the ‘no mow May’ movement! See the RSPB guide to creating a wildlife friendly garden for more helpful tips and ideas.
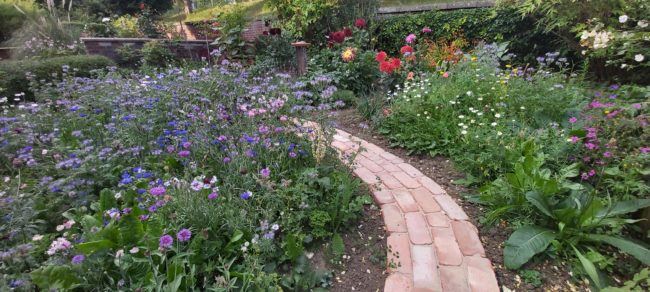
Here is some photos of our garden that we converted from lawn into a half wildflower garden and half cut flower garden. In early spring I killed the grass, then borrowed the neighbours rotavator to plough it up. We have very heavy clay soil, so I did not think we would get such a good result, but you can see in the final photo how successful our first year was. The second year we had an even bigger variety of wildflowers as some of them need a winter of dormancy before appearing. I hope this encourages you to do the same.





Leave a Reply