This post may contain affiliate links. If you make a purchase through a link, I may receive a small commission, at no cost to you. These commissions help keep this website up and running, and I thank you for your support. Read my full disclosure here.
Disclaimers: I have in no way been influenced or paid to endorse these products. All recommendations are my own.
I am not a medical professional. Talk to your doctor before attempting any treatments that may affect your health.
Warning: Always apply a test patch before using.
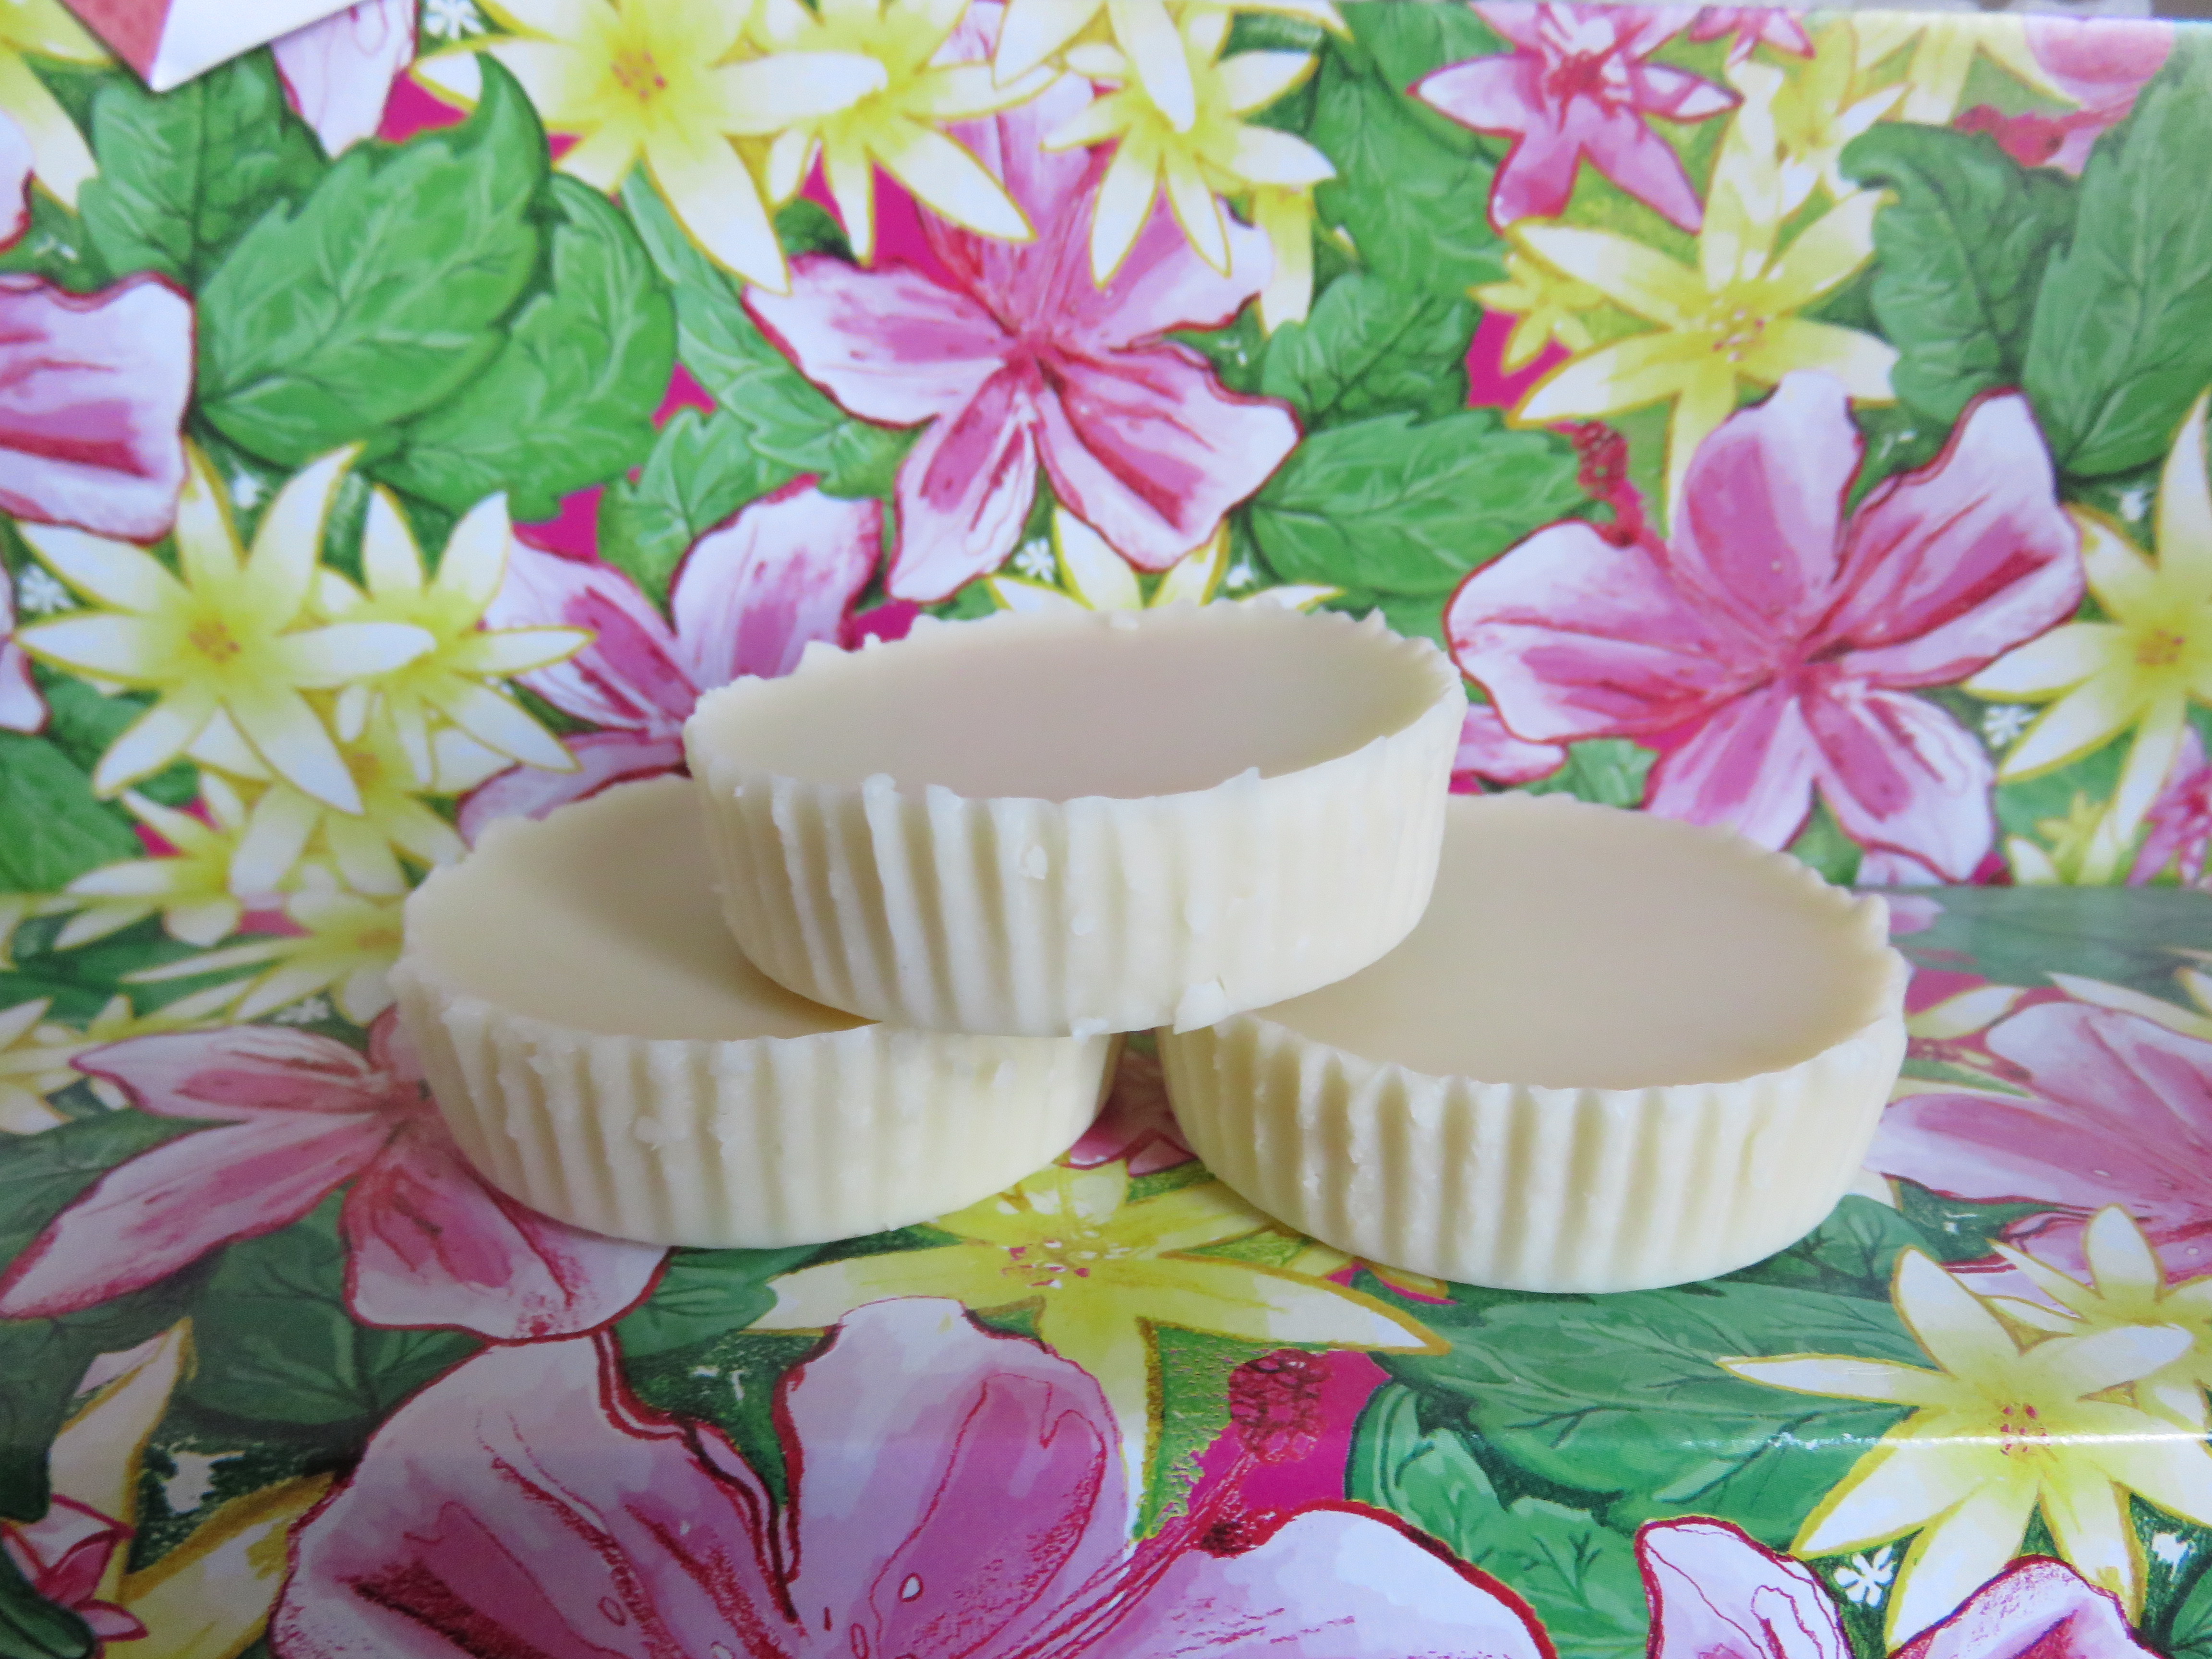
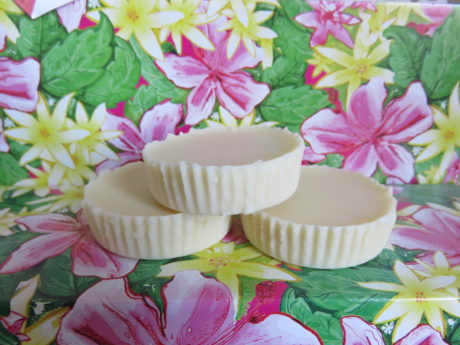
These lotion bars are super moisturising and are made with all-natural ingredients. They are perfect for dry hands and massaging onto skin after getting out of the shower. I stash these lotion bars everywhere, including my handbag, by the kitchen sink, in my bedside drawer and on my desk at work. These DIY lotion bars are easy to make, and are the perfect handmade gift idea.
How to Use a Lotion Bar
Gently rub these between your hands, or massage it directly onto skin, particularly dry areas such as elbows, knees. I love using these straight after I’ve had a shower while my skin is still warm and damp. I also keep one by my beside and also by my kitchen sink so I can moisturise my hands before (to protect), and after washing up (to moisturise).
Key Ingredients
Shea Butter
Shea butter is my butter of choice. It is very similar to sebum (our skin oil) so it absorbs well into the skin. Shea butter has potent anti-inflammatory and antioxidant properties and is very moisturising, particularly for dry skin. It also contains high levels of vitamins A and E and fatty acids.
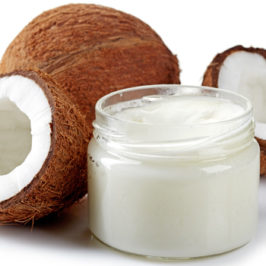
Coconut Oil
I love using 
Beeswax/Cadelilla Wax
The inclusion of wax in this recipe helps to firm up the lotion bar (particularly helpful in warmer climates) and also soothe, protect, and nourish the skin. I like to use 
I know how hard it can be for vegans to find vegan friendly skin care, so this recipe can easily be adapted to make it vegan. Substitute the beeswax with 
Vitamin E Oil

When purchasing vitamin E oil, you can’t just use any old vitamin E. There are eight basic forms of the vitamin E molecule, and they can be either synthetically or naturally derived. The most typical forms are d-alpha-tocopherol, d-alpha-tocopherol acetate, dl-alpha tocopherol, and dl-alpha tocopherol acetate. The “d” prefix indicates that the product was derived from natural sources, such as vegetable oils or wheat germ; whereas the “dl” prefix indicates that the vitamin was created from a synthetic base. Research has shown that natural forms of vitamin E are more effective than their synthetic versions. You should also use one with a high International Unit (IU), which is a measurement of vitamins. Natural, high IU vitamin E oil 
Lavender Essential Oil
I also added lavender essential oil to my lotion bar recipe, not just because I love the smell of it, but also because it’s skin-soothing and great for irritated skin. I also love that it’s relaxing and calming. If you prefer, you can leave it out or substitute it for another essential oil of your preference (just make sure it is suitable for skin).
Lotion Bar Moulds
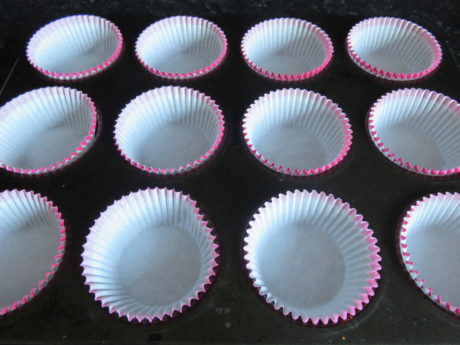
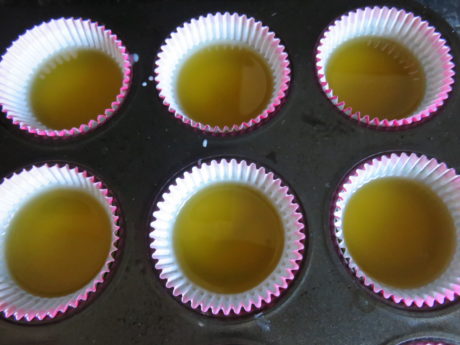
This lotion bar makes 375ml when in liquid state. I use my muffin tray for moulds and line them with cupcake cases. I usually make about 8 small lotion bars, but you can make fewer, larger bars. If you want to get a bit more imaginative, then use a decorative mould like this one. These make gorgeous handmade gifts.
Containers
Keep your lotion bars in these 3oz tins or these larger 5oz tins so you can keep them handy. I keep one in my handbag, one on my bedside table and also one in my desk at work.
Ingredients
Method
- Prepare your molds. I make 8 smaller bars or 7 larger bars using my muffin tray.
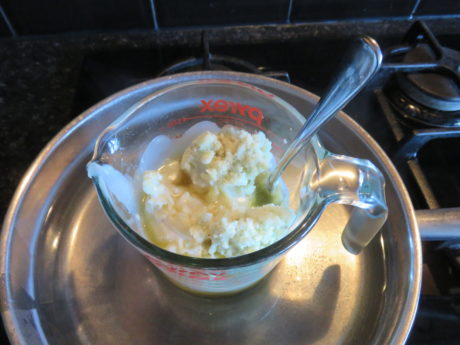
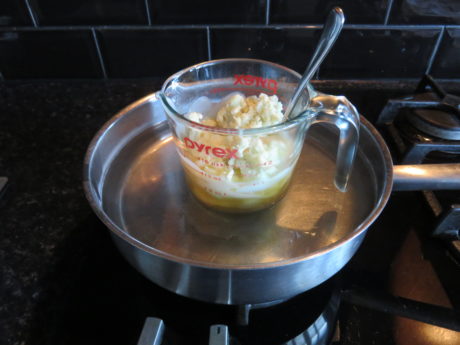
- Place the shea butter, beeswax (or candelilla wax), and coconut oil into your heatproof bowl and place it into a saucepan filled with about 5 cm (2 inches) of hot water that is sitting over a medium-low heat.
- Make sure that none of the water from the saucepan gets into your oils.
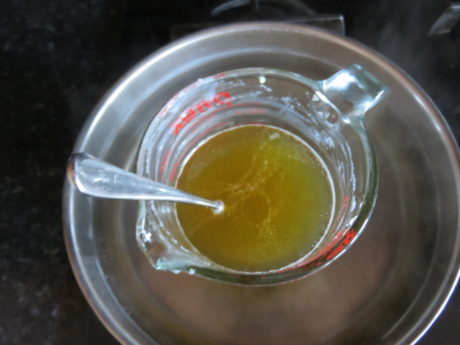
- Gently stir until the ingredients have completely melted into a liquid and combined. Don't leave it sitting on the heat any longer than needed, as you don't want it to get too hot otherwise it could reduce the efficacy of the ingredients.
- Remove the bowl from the saucepan and dry off the water from the outside of the bowl so it doesn’t drip onto your work surface and lotion.
- Leave the oil to cool down for 5 mins, then stir in the vitamin E.
- Pour the lotion into your molds then add 10-12 drops of the essential oil into each of the 7-8 bars and stir it through using a kebab stick. If you add the essential oil when it is too hot, it will just evaporate and lose it's scent, so I tend to add it once I've poured them into the molds as it is cooler by this point.
- Leave the bars for a few hours to become firm. Before removing the bars from their molds, refrigerate them for 30 mins, as it makes them firmer and easier to manage.
Notes
- See product links in the post above.
- If you use beeswax bars, then make sure you chop them up first, otherwise they will take much longer to melt than the rest of the other ingredients.
- It's important that you don't overheat the oils, as this can destroy their nutrients and therefore lose its efficacy.
- If you live in a hot climate, you may need to add more wax to ensure a firmer consistency.
- This recipe makes 370 ml. However, if you use candelilla wax you will use less wax, so you if you want to make the same amount, you will need to increase your shea butter and coconut oil in order to bring your recipe up to 370 ml. I've provided guidance for these measurements in the recipe list.
- This recipe does not contain water so it does not need a preservative. It has about a 6 month shelf life. To extend it’s shelf life, keep it in the fridge when not in use and always use clean hands to apply.



Leave a Reply