This post may contain affiliate links. If you make a purchase through a link, I may receive a small commission, at no cost to you. These commissions help keep this website up and running, and I thank you for your support. Read my full disclosure here.
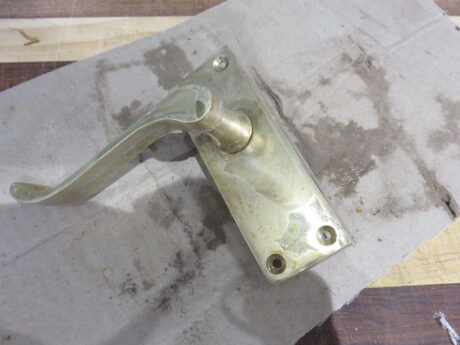
A complete home renovation meant our finances were extremely tight. New door handles might not seem expensive, but adding up all the doors in our house made me realise it would be too costly. The doors had old brass looking handles, but they appeared extremely dirty and damaged, and despite my attempts to clean them, the muck didn’t seem to come off. However, on closer inspection, I realised that what looked like damage was actually just peeling lacquer. Lacquer is often applied to brass to give it a shiny coating and stop it from tarnishing. However, over time the lacquer can yellow, breakdown, and trap dirt.
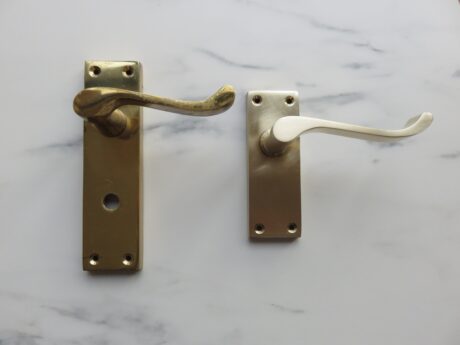
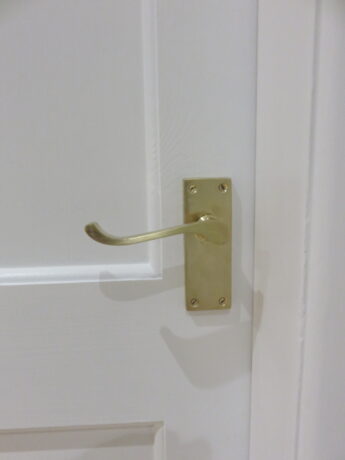
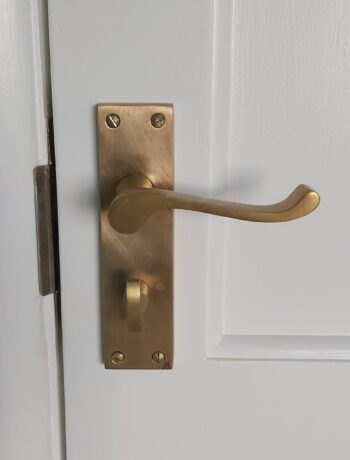
I spent a lot of time researching how best to clean the door handles. The online articles on how to clean brass recommend everything from specialised brass cleaner products to home made solutions such as tomato sauce, baking powder and vinegar. But none of these worked and didn’t clean or remove the peeling old stained lacquer. So after a lot of trial and error, I came up with a way to fully restore the brass door handles. In the photo below you can see the original handle on the left (the photo doesn’t quite show how gross it looked) and the finished one on the right.
How to Determine if the Door Handles Are Brass
Because of the state of my door handles, I wasn’t sure if they were real brass or not. However, you can tell the difference with the help of a magnet. If you hold a magnet against the item and feel a pull, you know the piece is brass plated. If there’s no attraction, then the piece is solid brass. That’s because the underlying metal is usually iron or steel, both of which are magnetic.
How to Remove Old Lacquer From Brass Door Handles
Method 1: Specialised Brass Lacquer Remover
What you will need
- Brass restorer
- Soft brush
- Disposable gloves
- Lint free cloth or paper towel
Follow the directions on the bottle of the lacquer remover. Wear disposable gloves and apply the restorer with a soft brush to the brass handles. Wash off with warm soapy water and dry with your cloth. You may need to repeat this process to remove stubborn lacquer.
Method 2: The Boiling Method
What you will need
- A screwdriver to remove the door handles
- An old saucepan
- Vinegar
- Abrasive pads – I used the ‘very fine’ maroon coloured pads to give the handles a brushed brass look. However, if you prefer a shiny finish, then use the ‘superfine’ white coloured pads. These pads are better than steel wool because they won’t rust or splinter.
- Bar Keepers Friend – this is optional. You can still get them clean but it will just take a bit more scrubbing effort.
- A large clean rag
- Heat protection for your hands
- Pliers or tongs to handle the handles when they come out of the hot water.
Step 1
Use the screwdriver to remove the handles from the door.
Step 2
Place water and 1/4 cup of vinegar in an old saucepan and bring it to a simmer.
Step 3
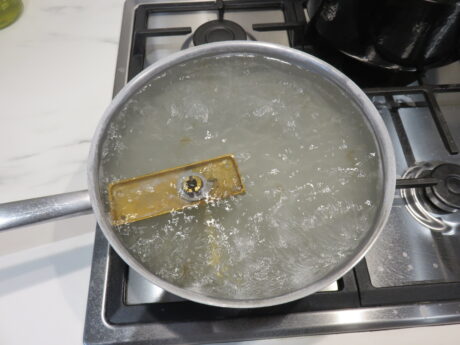
Using the tongs and heat protection for your hands, lower the door handle and screws into the water. Leave it to simmer for 5 minutes to allow the lacquer to soften. Look closely at the photo below and you can see bit of lacquer coming off and floating in the water.
Step 4
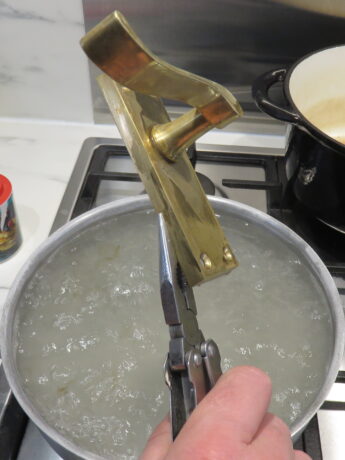
Use the pliers or tongs to remove the handle and screws from the water and place them on your rag. Be careful as they will be very hot. You can see in the photos below that there is still lacquer to be removed from the handles but it has softened, making it easier to remove.
Step 5
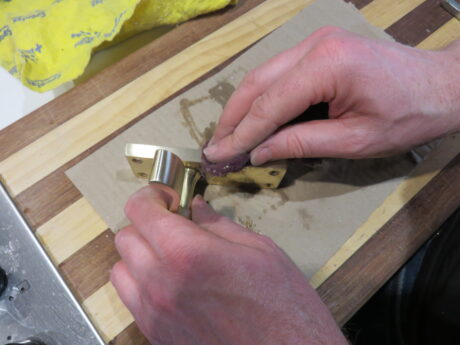
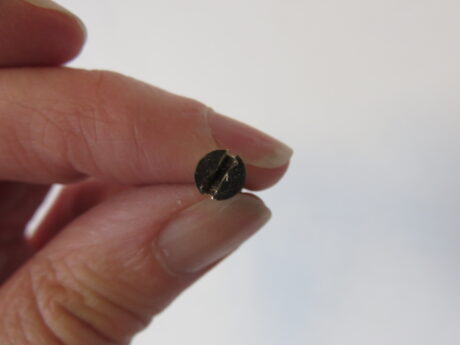
Wet the abrasive pad and place some Bar Keepers Friend onto it and start polishing the handles and the screw heads – remember that the metal will be hot, so you may need to use heat protectors on your hands until it cools down (which does happen quite quickly). Focus on the areas where the lacquer remains. Some areas may be easily peeling away, but some areas may be more stubborn and need more scrubbing. Patience and persistence is key! Don’t forget to clean your screw heads.
Step 6
Once the lacquer has been removed, give them a wash with soapy water. If you want the finish to be shiny, then finish with the white abrasive pad. In order to maintain this look, you should consider re-coating them with a coat of clear, non-yellowing, lacquer. Choose from a matt, satin, or gloss finish. If you want to give your door handles a brushed brass look, then follow my instructions below.
How to Turn Your Brass Door Handles Into Brushed Brass
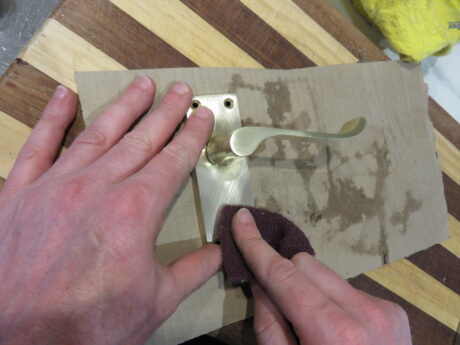
That shiny new look has fallen out of fashion and the original worn look that brass gets is back in style again. I personally love the brushed brass look and it is very on trend. It doesn’t need cleaning as regularly and doesn’t show the fingerprints like shiny brass does. In order to get the brushed brass look, finish them by polishing them with the maroon coloured abrasive pad. This will give them a duller more matt effect. It will also initially create quite a pale brass look which is very attractive. However, you will need to clean it regularly or give it a coat of lacquer to maintain this look. Personally, I don’t lacquer them as I love how brass ages over time and darkens in colour and develops a patina. Occasionally I will give mine a clean with some Brasso if it starts looking grimy and dirty. But I ensure it maintains its brushed brass look by finishing it with the maroon coloured abrasive pad.
The finished door handle back on the door again looking lovely. Overtime the cleaned one will darken and develop a patina if you don’t finish it in lacquer.
How it looks a year on. This is an unlacquered restored brass handle and it is developing a lovely patina.

