This post may contain affiliate links. If you make a purchase through a link, I may receive a small commission, at no cost to you. These commissions help keep this website up and running, and I thank you for your support. Read my full disclosure here.
Disclaimers: I have in no way been influenced or paid to endorse these products. All recommendations are my own.
Warning: Always apply a test patch before using.
Since moving to the UK, my lips get super dry and chapped during winter. The lip balms I’ve tried have temporarily soothed them, but haven’t done much to stop the horrible peeling and heal the cracks. I’ve spent time developing this recipe and packed it full of nourishing, soothing, and moisturising, natural ingredients.
This recipe is quite firm as it is designed to be used in chapstick tubes. However, if you want to use lip balm pots/jars instead, then reduce the amount of beeswax by about half for a softer balm that is easier to apply with your finger. However, if you live in a hot climate, you may need to increase the amount of beeswax. The hotter the climate, the more beeswax, otherwise it can get too soft.
So that you can prepare as much or as little as you like, I’ve listed this recipe in proportions. I have included some suggested measurements using 1 part = 1 tbsp which makes about 3 chapstick tubes. This is a great recipe to use for gifts, so if you are wanting to make a large batch, then use larger measurements e.g 1 part = 2 tbsp.
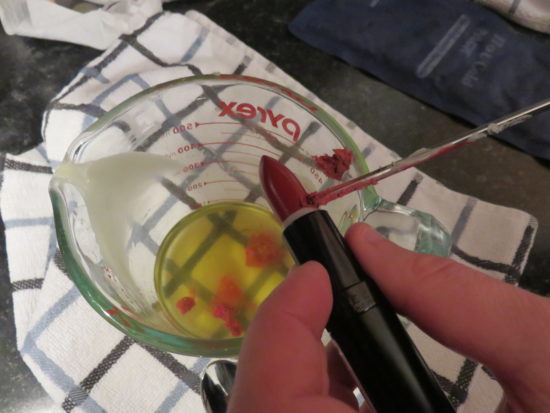
If you want to turn this into a tinted lip balm, then add a lipstick in your favourite colour. A strong colour is best as the colour gets diluted in the mix. You will also need another couple of empty chapstick containers. If you have some left over lipstick, then use my post Turn Your Left-over Lipstick into a Tinted Lip Balm.
Key Ingredients
Sweet Almond Oil
I love sweet almond oil because not only is it very moisturising, but it is also very affordable. It is packed with vitamin E, so is great for dry and sensitive skin.
Jojoba Oil
The use of the word ‘oil’ is very misleading because jojoba oil is actually a wax. Pronounced ‘ho-ho-ba’, it acts as an emollient which means it provides a protective film over your skin to trap in moisture. It is very similar to our own sebum (skin oils), so it absorbs easily into the top layer of the skin. Due to these moisturising properties, jojoba oil is popular in skin care products. It is also super hydrating which makes it a good lip plumper.
Shea Butter
Shea butter is my butter of choice because it’s a gentle, effective moisturiser. Similar to jojoba oil, it is very similar to sebum (our skin oil) so it absorbs well into the skin. It reduces inflammation and smooths chapped lips. It is also non-comedogenic, which basically means it won’t block your pores. If you prefer, you can use other butters such as cocoa butter, however, please be aware that cocoa butter has a high comedogenic rating, so can block pores. Therefore, I don’t like using it anywhere near my face.
Beeswax/Candelilla Wax
The inclusion of wax in this recipe not only makes it firm for the chapstick tubes, but it also soothes, protects, and nourishes the skin. If you want to use lip balm containers, then halve the amount of wax to make a softer balm that’s easy to apply with your finger. However, if you live in a hot climate, you may need to use more wax. I like to use white beeswax pellets because the pellets are easy to use (no grating!) and melt. If you use yellow pellets, it will give your lip balm a yellow tint so I prefer to use white pellets.
I know how hard it can be for vegans to find vegan friendly cosmetics, so this recipe can easily be adapted to make it vegan. Substitute the beeswax with candelilla wax, which is a natural wax derived from the leaves of the small Candelilla shrub that is native to northern Mexico and the southwestern United States. Candelilla wax sets much firmer than beeswax, so I suggest using half the amount.
Vitamin E Oil
Vitamin E oil has been used for many years in skin care. It can alleviate itching, dryness and flaking. It can also help soothe inflammation. Vitamin E is not a preservative, but it is an anti-oxidant which will help to keep the oils in this lip balm recipe from going rancid. Vitamin E is safely used at 1-5% concentrations. I usually use it at around 1-2%.
Chapstick/ Lip Balm Containers
If you are keen to keep costs down and are only planning on making a few lip balms for your own personal use, then you can buy these eco-friendly Kraft paperboard chapstick tubes. But if you are making a large amount for gifting or selling, then I recommend buying a Lip Balm Crafting Kit which contains an easy filling tray and spatula, lip balm tubes, and writeable and printed stickers.
If you want to use containers, then use these eco-friendly Kraft paperboard lip balm containers and use half as much beeswax for a softer balm that is easier to apply with your finger.
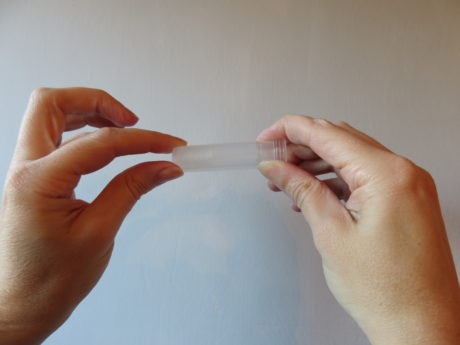
[icon name=”lightbulb-o” class=”” unprefixed_class=””] Tip- Before pouring the lip gloss into the chapstick containers, make sure that they have been completely wound down and twisted firmly as this helps prevent them from leaking out the bottom.

Ingredients
Method
- Prepare your chapstick containers by ensuring they are completely wound down and twisted firmly as this helps prevent them from leaking out the bottom.
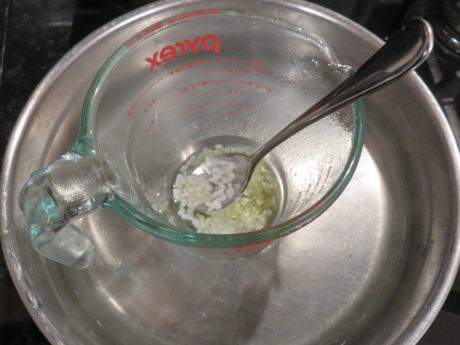
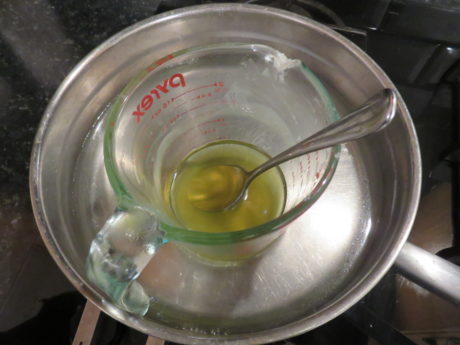
- Place all the ingredients, except the vitamin e oil, into your pyrex bowl and place it into a saucepan filled with a few centimetres of hot water that is sitting over a medium-low heat.
- Make sure that none of the water from the saucepan gets into your oils.
- Gently stir until the ingredients have completely melted into a liquid and combined. Don't leave it sitting on the heat any longer than needed, as you don't want it to get too hot.
- Remove the bowl from the saucepan and dry off the water from the outside of the bowl so it doesn’t drip onto your work surface and lip balm.
- Add the vitamin E and stir to combine.
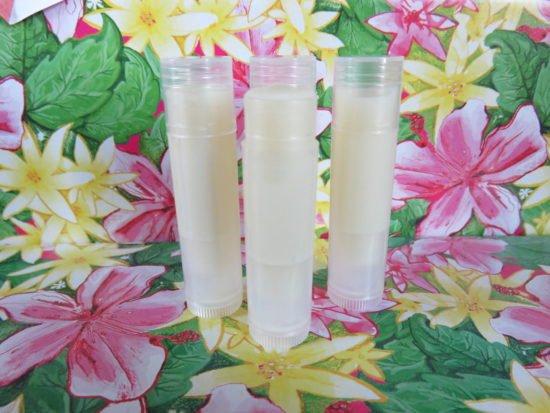
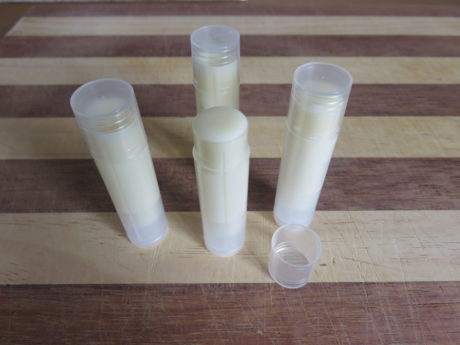
- Pour your liquid lip balm into the chapstick tubes and then leave them to completely cool and become firm.
- As the lip balm cools, it can shrink and retract a little. If you want to, reserve a small amount of the melted lip balm. Wait about 5 minutes as the balm cools and hardens, then top each one up.
Notes
- You can use US or UK measurements, it is not essential to be perfectly precise!
- It's important that you don't overheat the oils, as this can destroy their nutrients and therefore lose its efficacy.
- If you live in a hot climate, you may need to add more wax to ensure a firmer consistency.
- Before pouring the lip gloss into the chapstick containers, make sure that they have been completely wound down and twisted firmly as this helps prevent them from leaking out the bottom.
- If you don't have a pouring tray, then hold your tubes together with a rubber band for easier filling.
- To extend the life of your lip balm, store it in the fridge until you need it.


Leave a Reply